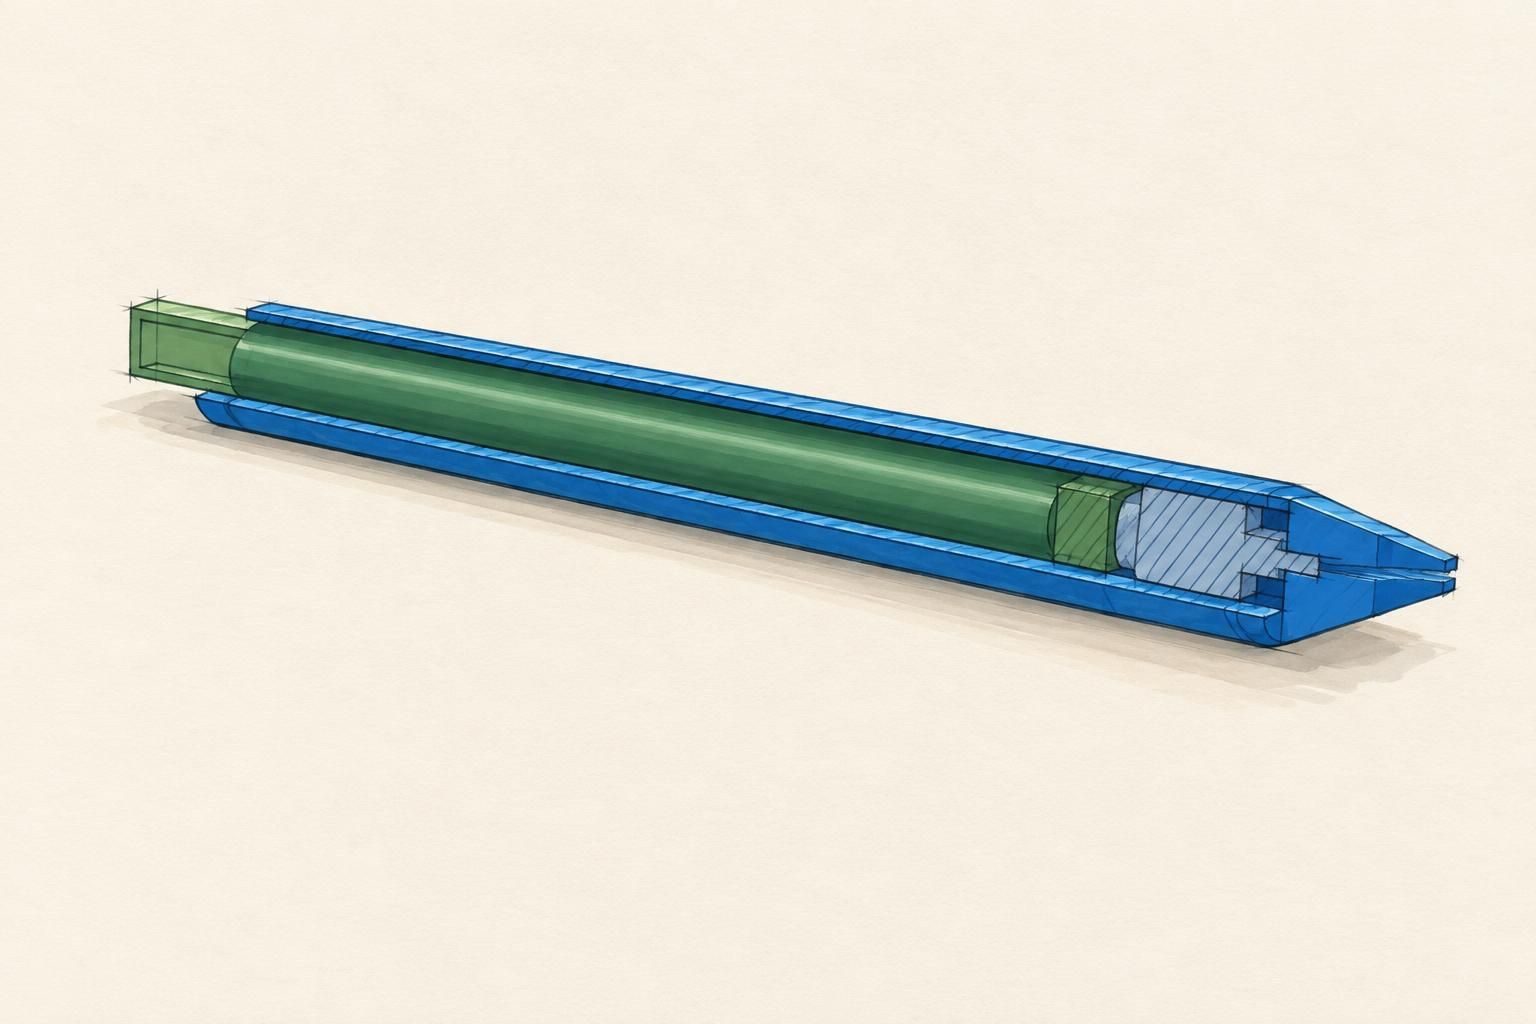
A part can look completely right on screen and still not fit. Looking right is about proportion; fitting is about numbers, and the numbers are not on screen unless you ask for them.
Two buttons below the model ask for them. The ruler measures, and the cutaway opens the part up so you can see what is inside it.
Turn on the ruler
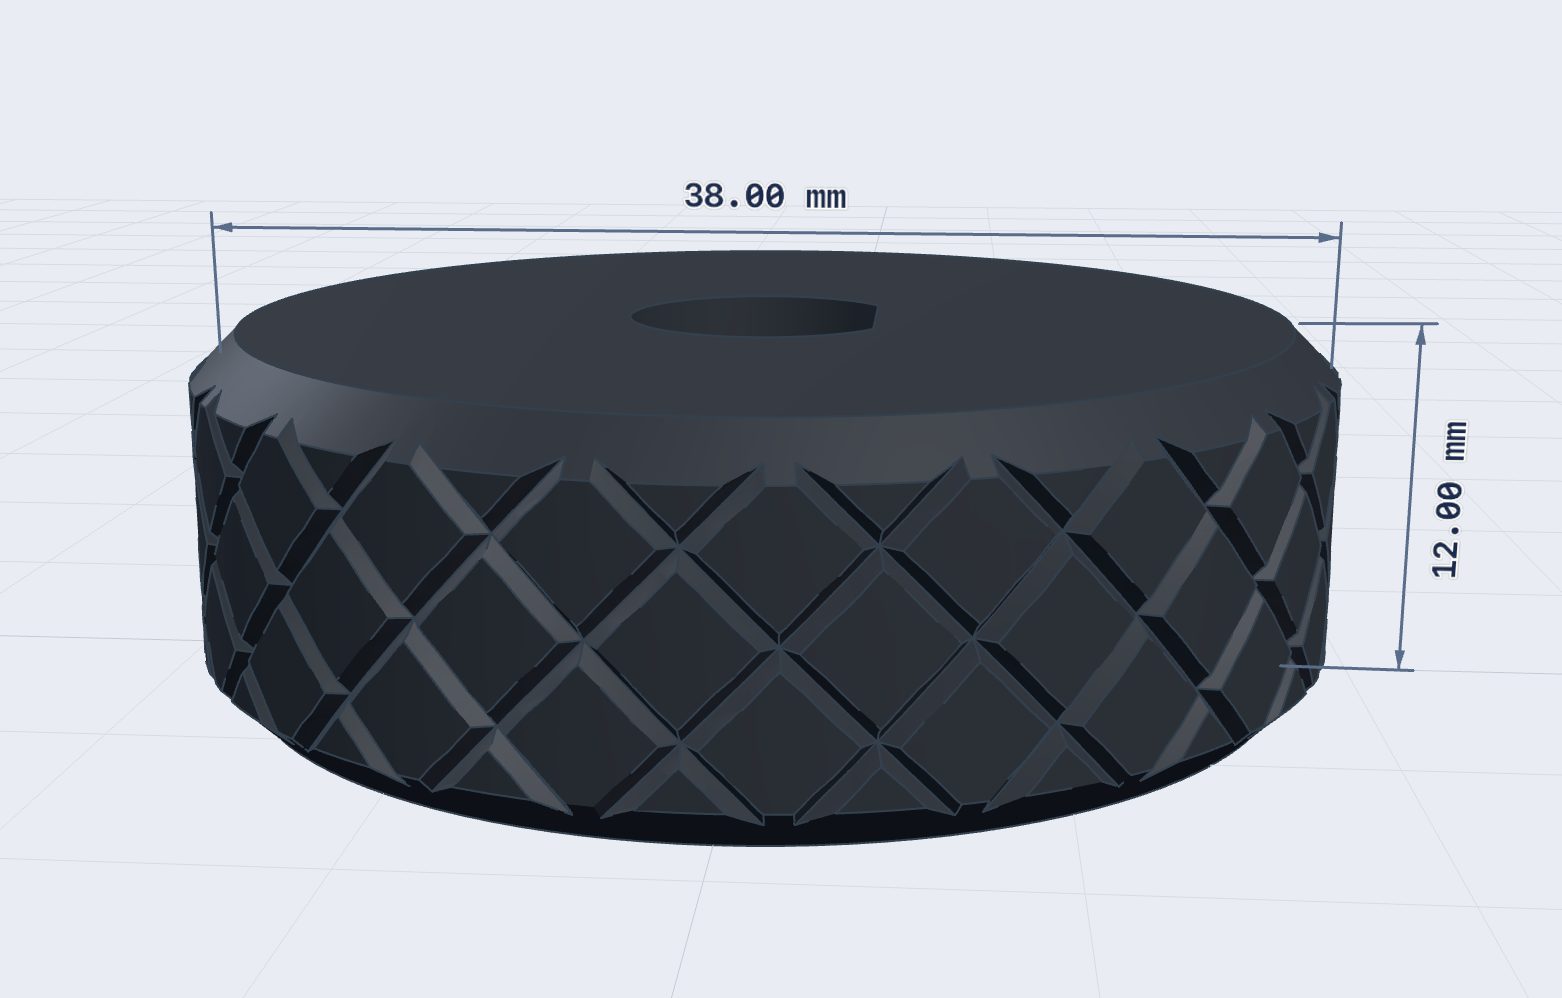
Click the ruler icon to the bottom right of the part. Now move the pointer over the model, and whatever you hover gets dimensioned: hover a hole and you get its diameter, hover a face and you get the span across it, hover the part itself and you get its overall size.
Nothing is committed and nothing changes. You are just looking.
Pin the ones you care about
Hovering is momentary. Click a surface and its measurement is pinned — it stays on screen while you rotate the part, change a slider, or keep measuring something else.
That is what makes it useful. Pin the bore, pin the bolt spacing, pin the overall height, and now you can drag a slider and watch all three respond at once. Clear removes them all when you are done.
A pinned measurement is also a button. Click its number and partforge lights up the control in the panel holding that same value — which is usually the fastest way to answer "which slider makes this hole bigger?"
There is a mm / in toggle next to the ruler if you think in inches. It changes what is drawn on the part only; the control panel stays in millimetres, because that is what the part is built in.
Press Escape, or click the ruler again, to go back to normal. One thing to know: while the ruler is on, clicking pins a measurement rather than dropping a marker, so if you want to point at something (lesson 2) turn the ruler off first.
Cut it open
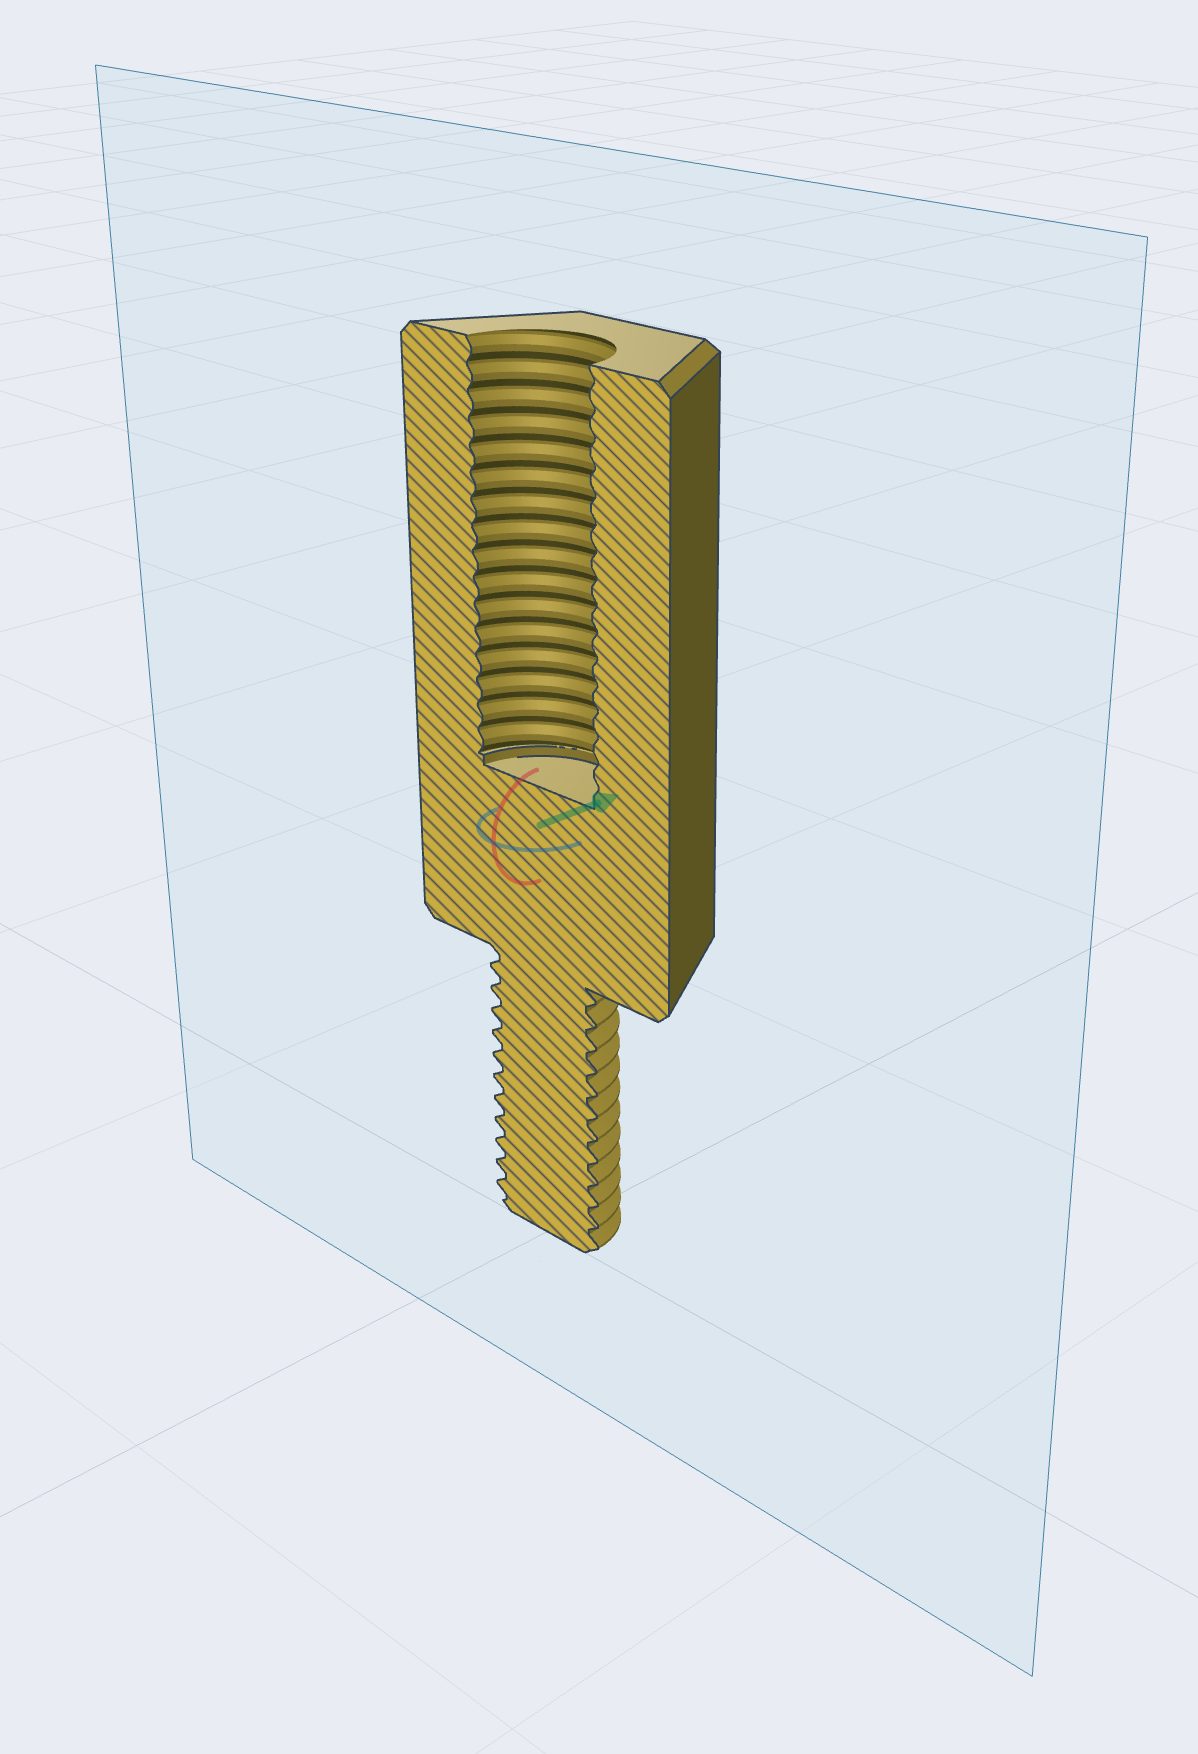
The button next to the ruler — the circle with the hatched quarter — slices the part with a plane and hides everything on one side of it.
This is the fastest way to answer "is that wall actually 2mm?" or "did that counterbore go all the way through?" Hollow things that should be solid, and solid things that should be hollow, both show up immediately.
A handle appears on the plane:
- Drag the middle to slide the plane through the part. Push it slowly through a hole and you can watch exactly where the wall gets thin.
- Drag the outer handles to tilt the plane. It snaps to the part's own axes, which is almost always what you want; hold Shift if you need an angle it will not snap to.
- Flip swaps which half you are looking at.
- Reset puts the plane back where it started.
Point at something inside
The cut face is clickable like any other surface. Click a spot on it and the marker knows it is on the section, not on the outside of the part — so you can say "this rib should be twice as thick" about something that, a moment ago, you could not see at all.
That is worth keeping in mind whenever a change is about the inside of a part. Slice it, click the thing, describe the change.
Ask the assistant to check a number
You do not have to measure everything yourself. The assistant can measure the part it just built, and asking is often quicker than hunting for the right face.
- "How thick is the wall around the bore?"
- "What is the distance between the two mounting holes?"
- "Is there at least 3mm of material under the countersink?"
- "Will this fit through a 40mm opening?"
The answers come back as numbers, which means the next thing you say can be a number too. "The bore is 7.6mm and it needs to be 8mm" is a change that can be made exactly. "It's a bit tight" is a change that has to be guessed at.
Put the number in the panel
If it is a number you keep checking, stop checking it. Ask for it to be shown:
- "Show the inner diameter in the panel."
- "Add a readout for the wall thickness."
- "I want to see the total height as I change things."
The panel gains a line that displays the number and updates as you move the sliders. You cannot edit it — it is not a setting, it is the answer, worked out from the settings above it. It is the difference between adjusting a part and adjusting a part while watching the one measurement that decides whether it works.
Make the number something you can set
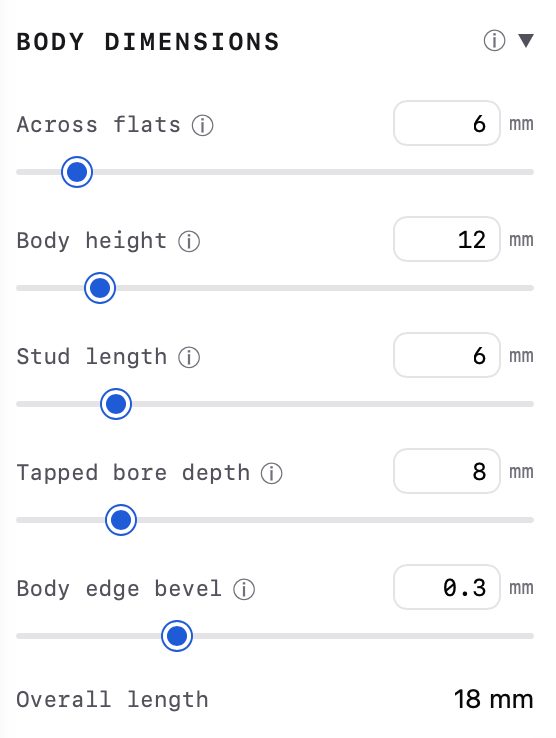
The last step is the one that turns a one-off part into one you can reuse: ask for the dimension to become a control.
- "Make the wall thickness a slider, 1.5 to 5mm."
- "Let me set the bolt spacing from the panel."
- "Add a clearance control for the lid, default 0.2mm."
- "Add a tolerance setting that applies to all the holes."
- "Give me presets for M3, M4 and M5."
Clearance is the one that earns its keep fastest. Two parts that are both exactly 20mm do not fit together, and how much slack you need depends on your printer, your filament and the day. If the clearance is buried in the part, a fit that is slightly too tight means describing the problem again. If it is a slider, it means moving the slider by 0.1 and printing again.
The same goes for anything you already know will change: the shelf thickness the bracket clamps, the diameter of the pipe, the length of the arm. Ask once, and the next version is a drag rather than a conversation.
The short version
Measure before you print. Slice through anything you cannot see. Say the number back when something is wrong. And when you find yourself measuring the same thing three times, ask for it in the panel — as a readout if you only want to watch it, as a control if you want to set it.